When and how to use tripods, monopods, bean bags, ball heads and gimbals to produce sharper wildlife images. And, when not to.
MOTION BLUR OR CAMERA SHAKE?
Motion blur is caused by the physical movement of the subject within an image. It can be minimized by shooting with a fast shutter speed that freezes the action. However, some photographers intentionally shoot moving subjects with a slower shutter speed to emphasize movement. When done correctly, this technique adds an interesting dynamic to the image.
Camera shake is a completely different problem. This is caused by the photographer’s inability to hold the camera steady. Unless youre a big fan of the Blair Witch Project, camera shake should always be avoided.
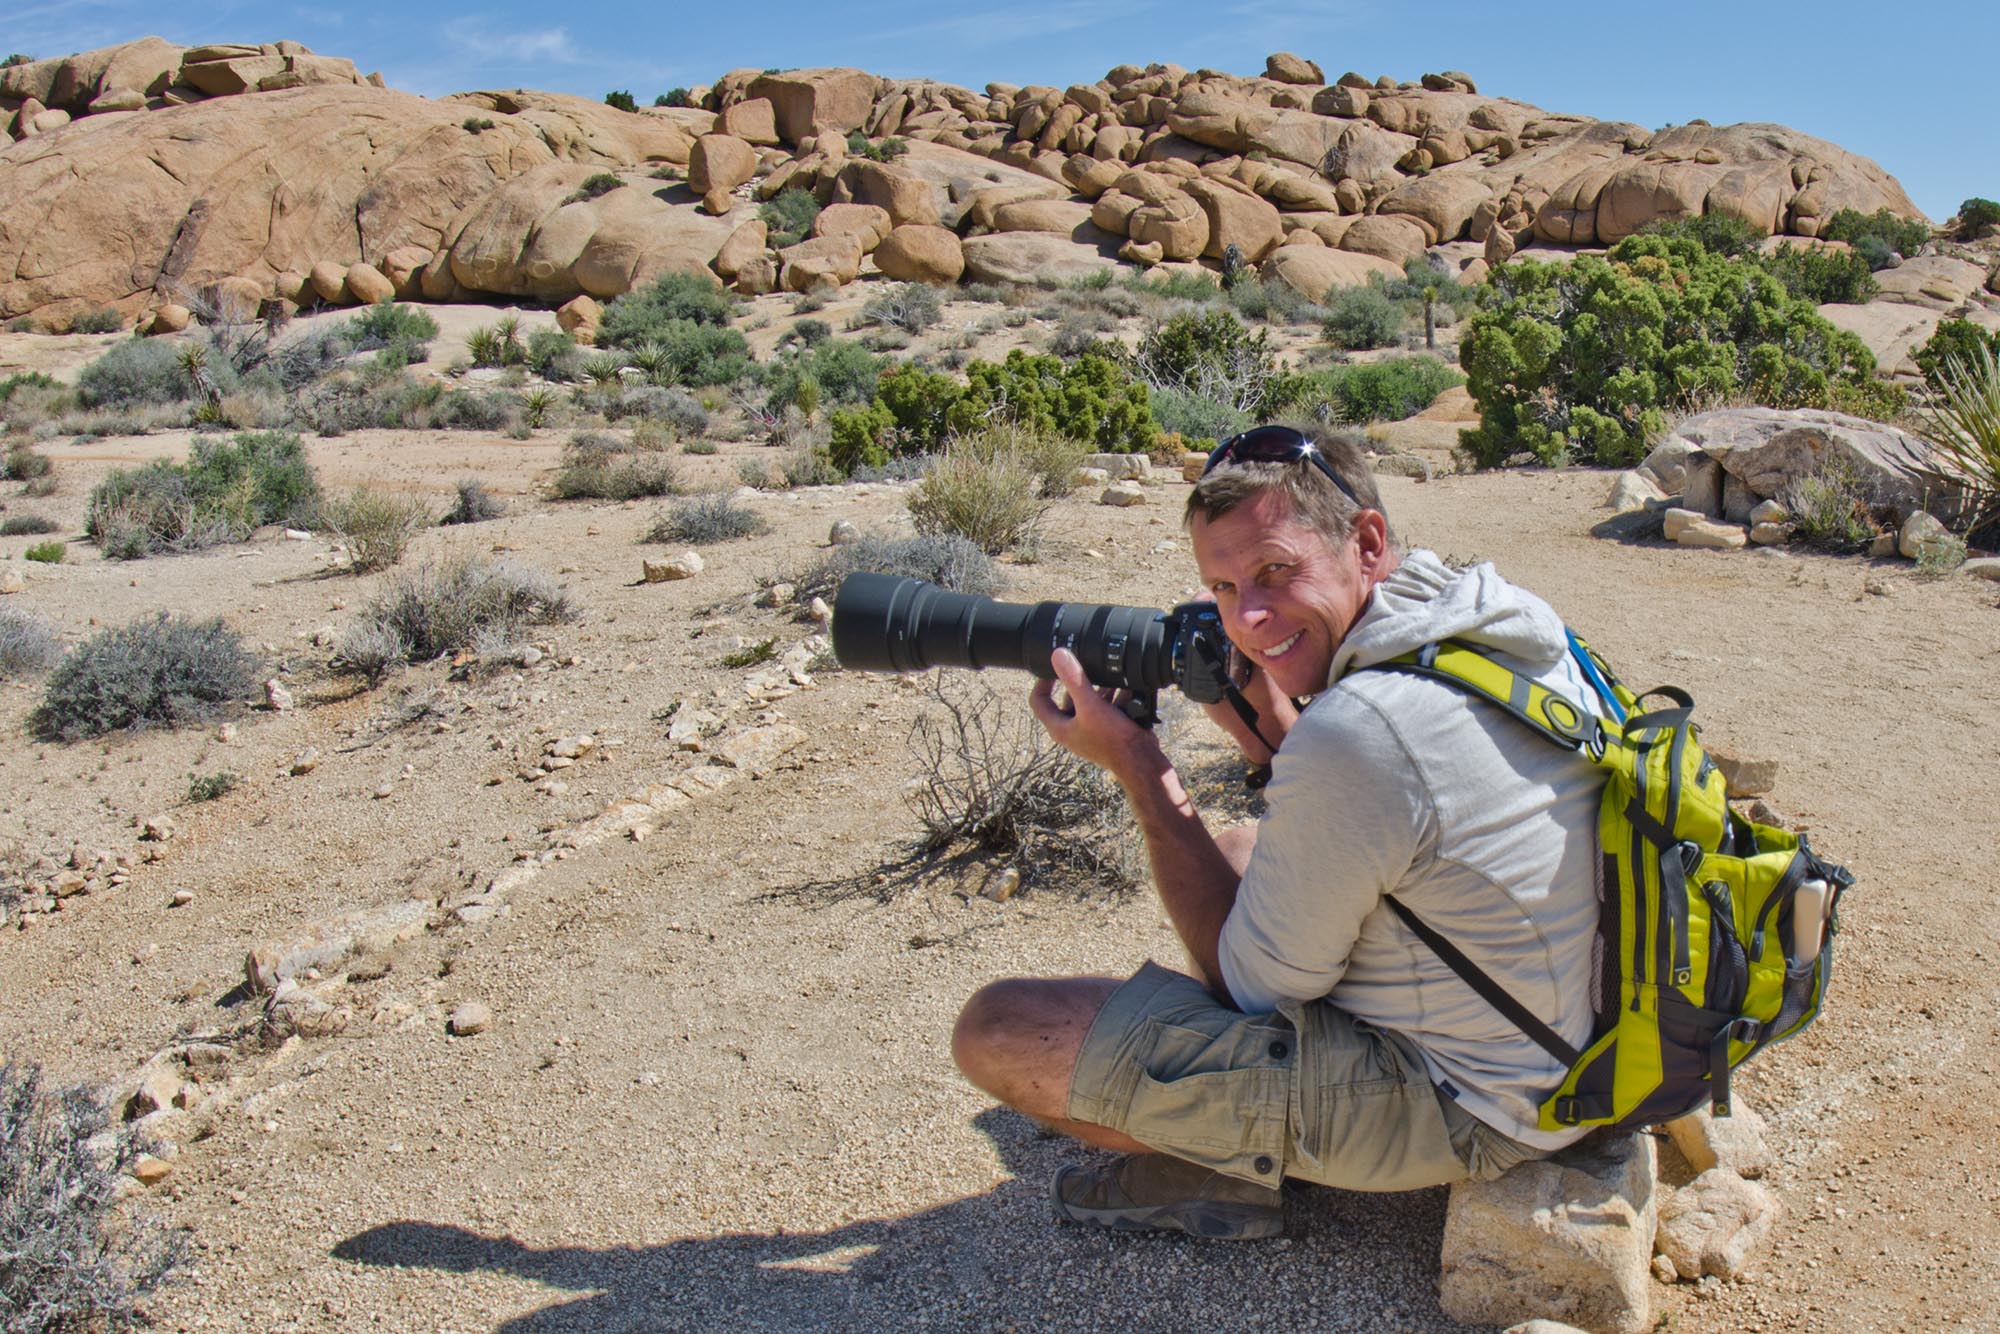
If you have the shoulders of a weight lifter and the cool nerves of a sniper, all you need is a good telephoto lens and an eye for composition. The rest of us rely on technology to produce sharp images; especially when using extremely long lenses. Even when animals are at rest, image stabilization is critical for good results.
Both motion blur and camera shake can be minimized by using an extremely fast shutter speed but it helps if you use some kind of equipment to brace/stabilize your camera, especially in low light situations where a fast shutter speed may not be practical.
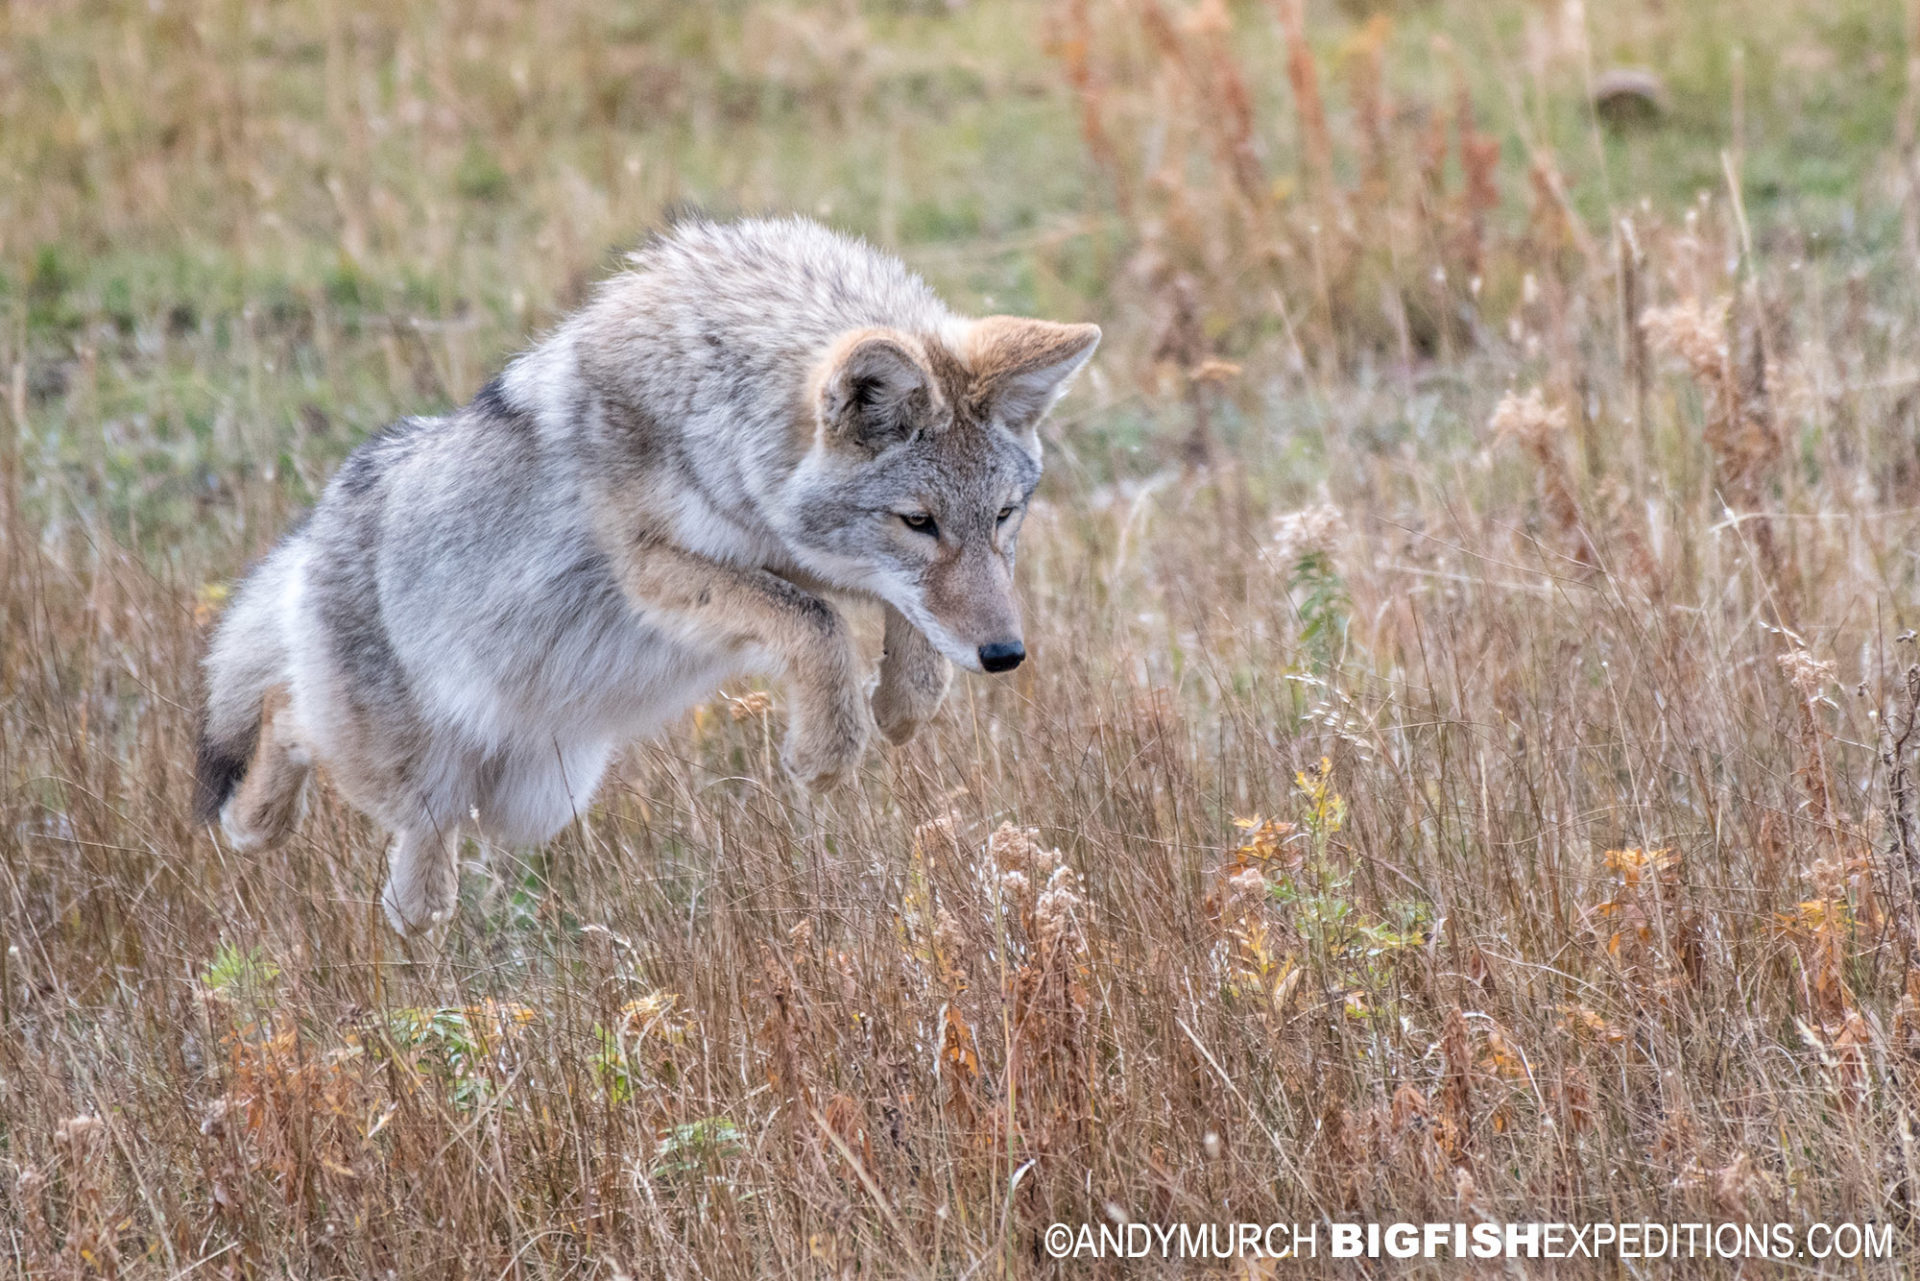
This pouncing coyote was photographed from around 30m away, under overcast skies. To cope with the low light I shot at ISO1000 and used a shallow depth of field of F5.6. That combination allowed me to increase the shutter speed to 1/1250th of a second. Even then, I would not have achieved a sharp subject if I had not used a tripod.
CAMERA STABILIZATION OPTIONS
What you need to stabilize your camera, depends on the situation:
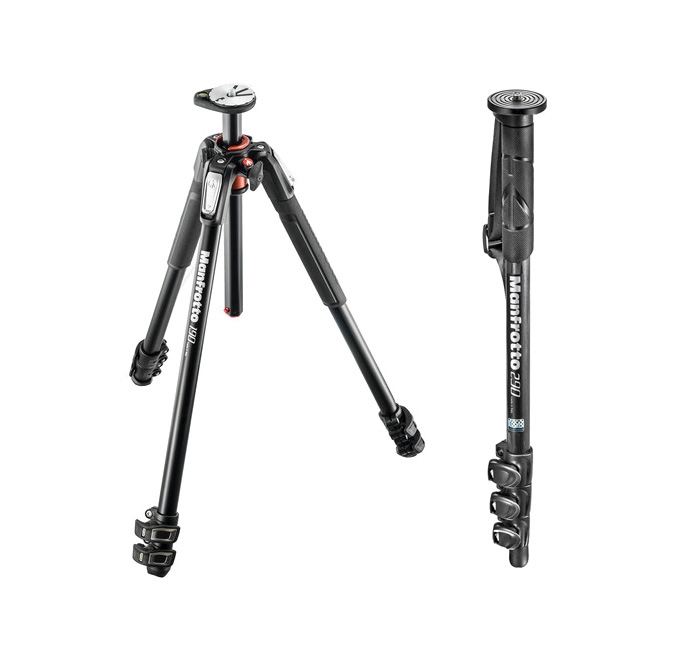
TRIPODS AND MONOPODS
Tripods are indispensable when you are on foot and need a stable platform; even if that just means climbing out of your vehicle and shooting next to it. When choosing a tripod, it is tempting to go with the lightest model available but thin, lightweight tripods tend to be wobbly, especially in windy conditions, or when you mount a heavy camera with a long telephoto lens attached.
You can minimize equipment movement by buying a lightweight carbon-fiber tripod that has a hook under the central column that you attach a hanging weight to. That may stabilize your camera to a degree but it won’t completely stop a flimsy tripod from flexing. Nothing beats a rigid, heavy, metal tripod.
Take your camera and long lens to the store and see how sturdy it feels while mounted on different tripods before you buy one. Any tripod will seem stable when retracted but make sure that it is still completely rigid when all of the legs are fully extended and the central column is all the way up. That is when it is most prone to wobble.
Play with the clamps that keep the legs extended. Lean on them with your body weight to see if they are strong enough to not retract under your weight. Most are well designed but the mechanism that holds the central column is often the weakest part of the design so pay extra attention to that clamp.
Next, have a look at the mechanisms for holding the legs apart at the right angle. Some use clamps, others just have a cam that can be rotated and then the legs rest in a particular position. The type that clamp at whatever angle you want them, are more versatile.
Finally, on full extension, is the tripod tall enough for you to point it upwards and still look through your viewfinder without bending down.
Monopods are a compromise. There are rare occasions where there is not enough room to deploy a tripod so a monopod is the only option but generally speaking, monopods are used when you don’t want to schlep a big, heavy tripod through the bush. A monopod is lighter and more conveniently deployed and it can double as a walking stick. The drawback is that it offers zero stability on its own. A monopod is essentially a third leg, so your body makes the other two legs. By standing legs apart and leaning on the camera and monopod, one can create a sturdy tripod of sorts. The result is better than not having anything at all but nowhere near as stable as a real tripod. I have used one numerous times with exactly the results one would expect, i.e. the images are fairly sharp but subtle movement is still detectable.
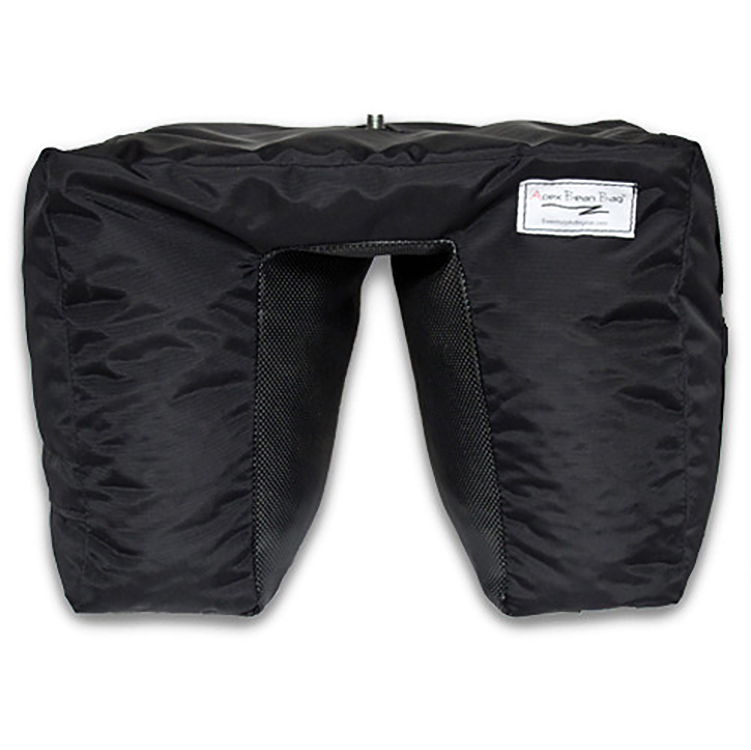
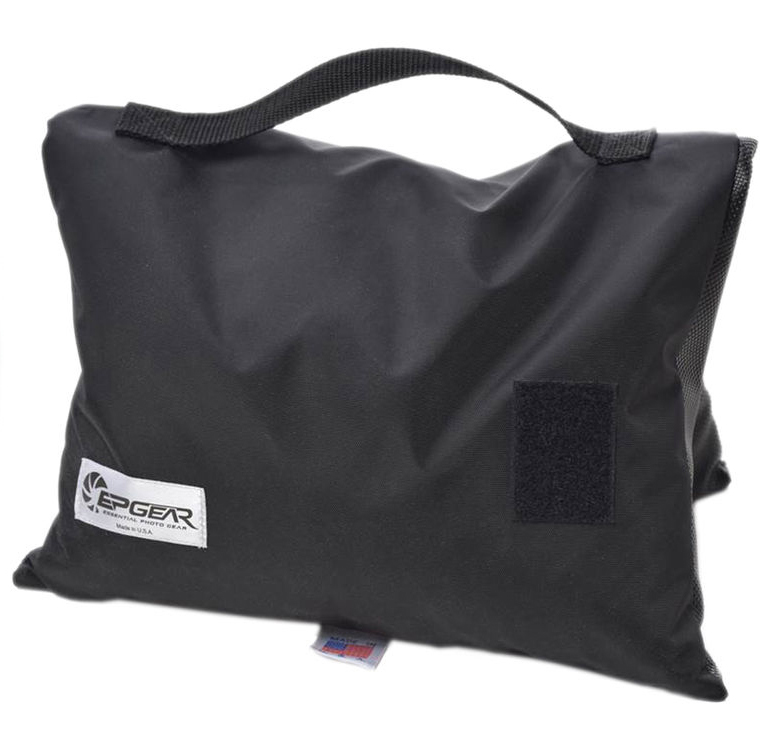
BEAN BAGS
I can’t say enough good things about bean bags. They are small, portable and they make excellent, stable platforms when draped over the window frame of a car or the rail of a flatbed truck. They are even helpful in the bush if you want to lay on the ground and prop your camera up in front of you – sniper style.
There are a number of different designs on the market. Flat bean bags are fine. These simply drape over a bar/window and the camera or telephoto lens lays snugly on top. There are also C-shaped bags that fit more accurately over a car window frame. Both designs seem to do the job but I like the generally larger size and snugness of the C-shaped ones.
Some bean bags have a metal plate inside that you can attach a ball head or gimbal to. To me, mounting a camera on a ball head on a bean bag is a bit redundant but if you need to pan with a running animal, the groove you have made for your camera in the bean bag may be restrictive. I find that mostly I am simply looking for a stable platform to shoot from when an animal is at rest, rather than a way to swing my camera as an animal sprints past, so I generally do not attach a head to my bean bag.
Some bean bags have straps on the ends so that you can attach them to the door handle of your jeep/car/truck. While this is not necessary for stability, its a good way to avoid losing your bean bag if you leave it draped over the open window while you’re driving along.
One nice thing about bean bags is how small they pack when they’re empty. Rather than carrying the filler on the plane, when you arrive, head to a grocery store and buy a big bag of rice. For a few dollars or less, you can fill the bag and then toss away the contents at the end of the trip. Once, filled my beanbag with laundry and that worked quite well too 🙂
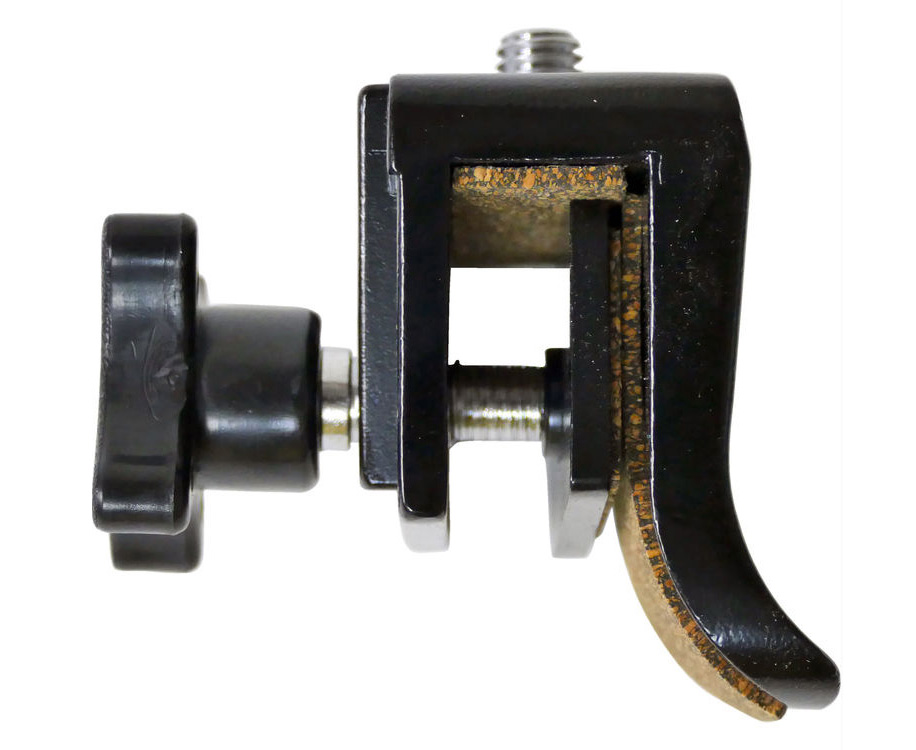
WINDOW CLAMPS
A window clamp does just that; it clamps to your half lowered window and then you can attach a ball head to the clamp. I’ve never used one because they are a bit too rigid and I’ve always been worried I would crack the window when tightening it up or when moving the camera around. Also, I have not found one that is designed for a big camera with a telephoto lens attached.
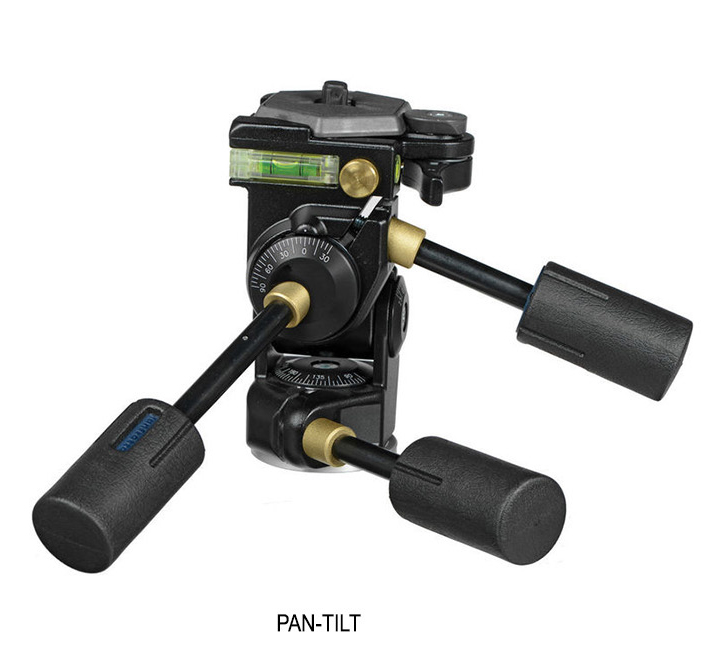
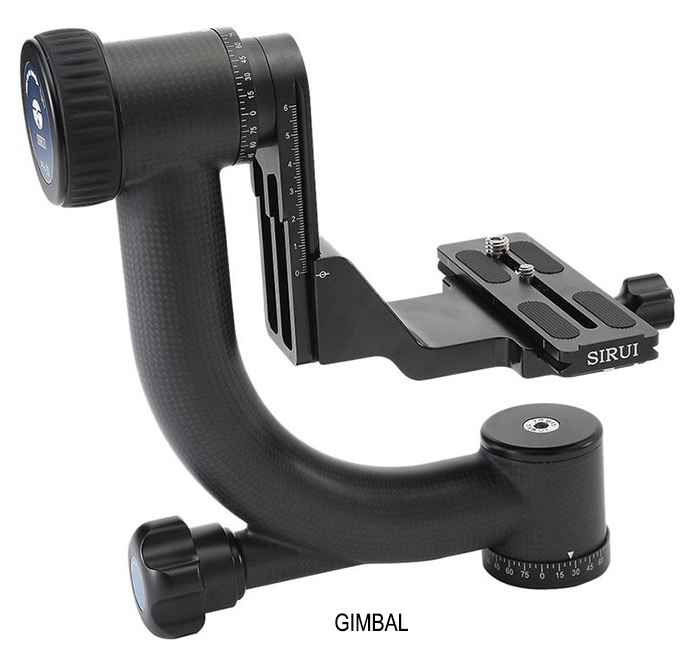
PAN-TILTS, GIMBALS, AND BALL HEADS.
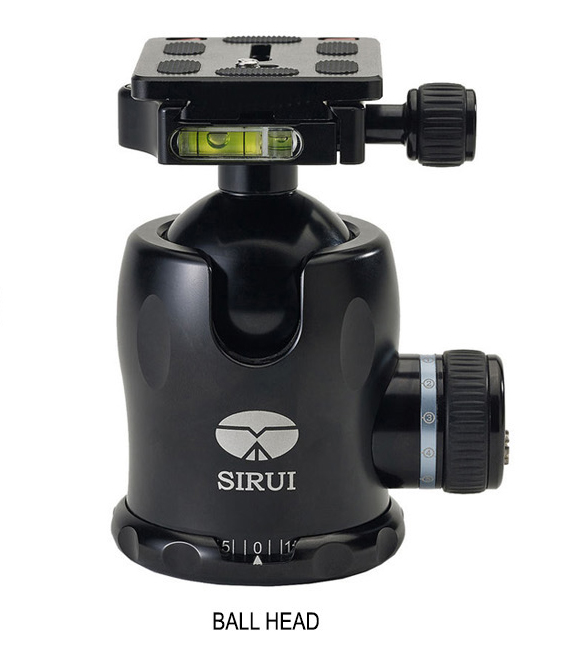
Regardless of what you bring as a base, you need a way to fix and rotate your camera. Pan-tilt heads are generally the cheapest but they are slow to adjust and they limit the angles at which you can hold your camera. Gimbals offer a smooth range of motion that is ideal for panning but they’re bulky. A good quality ball head is the most convenient and versatile option.
When choosing a ball head, make sure it is rated for the weight of camera and lens it will be supporting. A high quality product will list the weight rating in the specs.
Look for a ball head where the cage for the ball is notched in one or more spots so that camera can be completely rotated from horizontal to vertical.
A good ball head will have a tensioner that tightens the ball within the cage. You want to create enough friction to hold the camera in position when you’re not touching it but still allows you to rotate your camera with minimal effort.
WHEN TO DITCH THE TRIPOD OR BEAN BAG
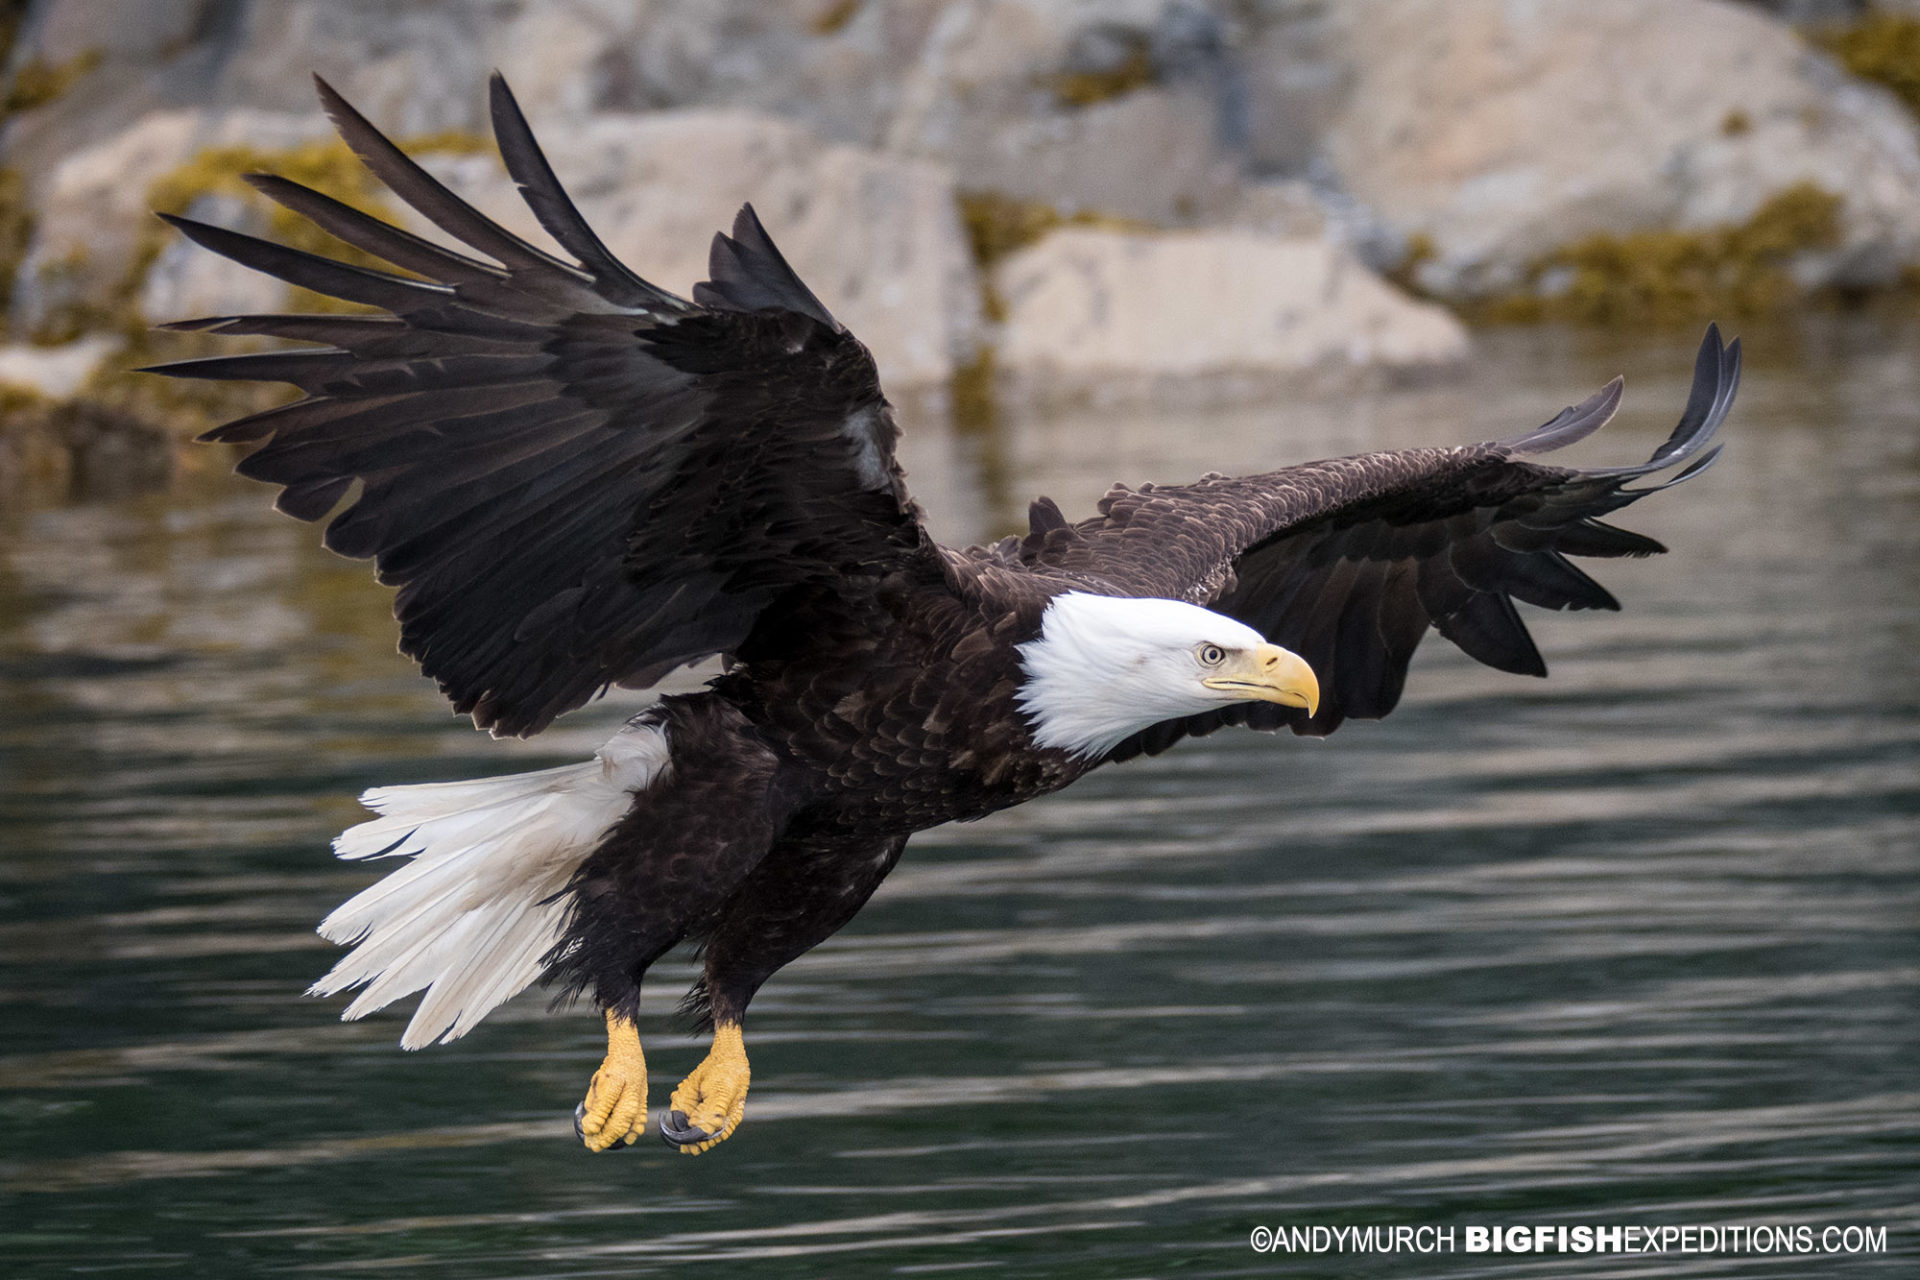
Stabilization tools are only helpful if the ground isn’t moving. If you’re working from a boat or from a vehicle that is being buffeted by the wind, then anchoring your camera to the floor or window will probably be counterproductive. In situations where the entire environment is shifting, it is better to hand-hold your camera so that your body can work as a shock absorber. The human body is the ultimate gimbal. Don’t be afraid to to take matters into your own hands. For example, Shooting eagles from a pitching boat in Alaska is a bad time to use a tripod!
A final thought, engine vibration reverberates through the entire vehicle. Even if you don’t notice it, your camera will constantly tremble if you leave the engine running. No matter how much it may bug the driver, ask them to switch off the engine every time you raise your camera!
Tripods, pffft…
ABOUT THE AUTHOR
Andy Murch is a fanatical big animal photographer. His images and shark stories have appeared in hundreds of books and magazines around the world from titles as varied as Canadian Geographic, Scuba Diving, Ocean Geographic, FHM, Digital Photography Magazine, National Geographic, and the Journal of Zoology.
Andy is the Creator of the ever expanding Shark and Ray Field Guide on Elasmodiver.com
You can find a broader selection of Andy’s wildlife images on AnimalImages.net